Viewing entries tagged
chef

Share

Bakers Use Grams, and Chefs Do Too!

 
bread.jpeg
 

The following is an article I wrote for Edible Vineyard magazine. If you haven’t already gotten on the gram train… I suggest you do.

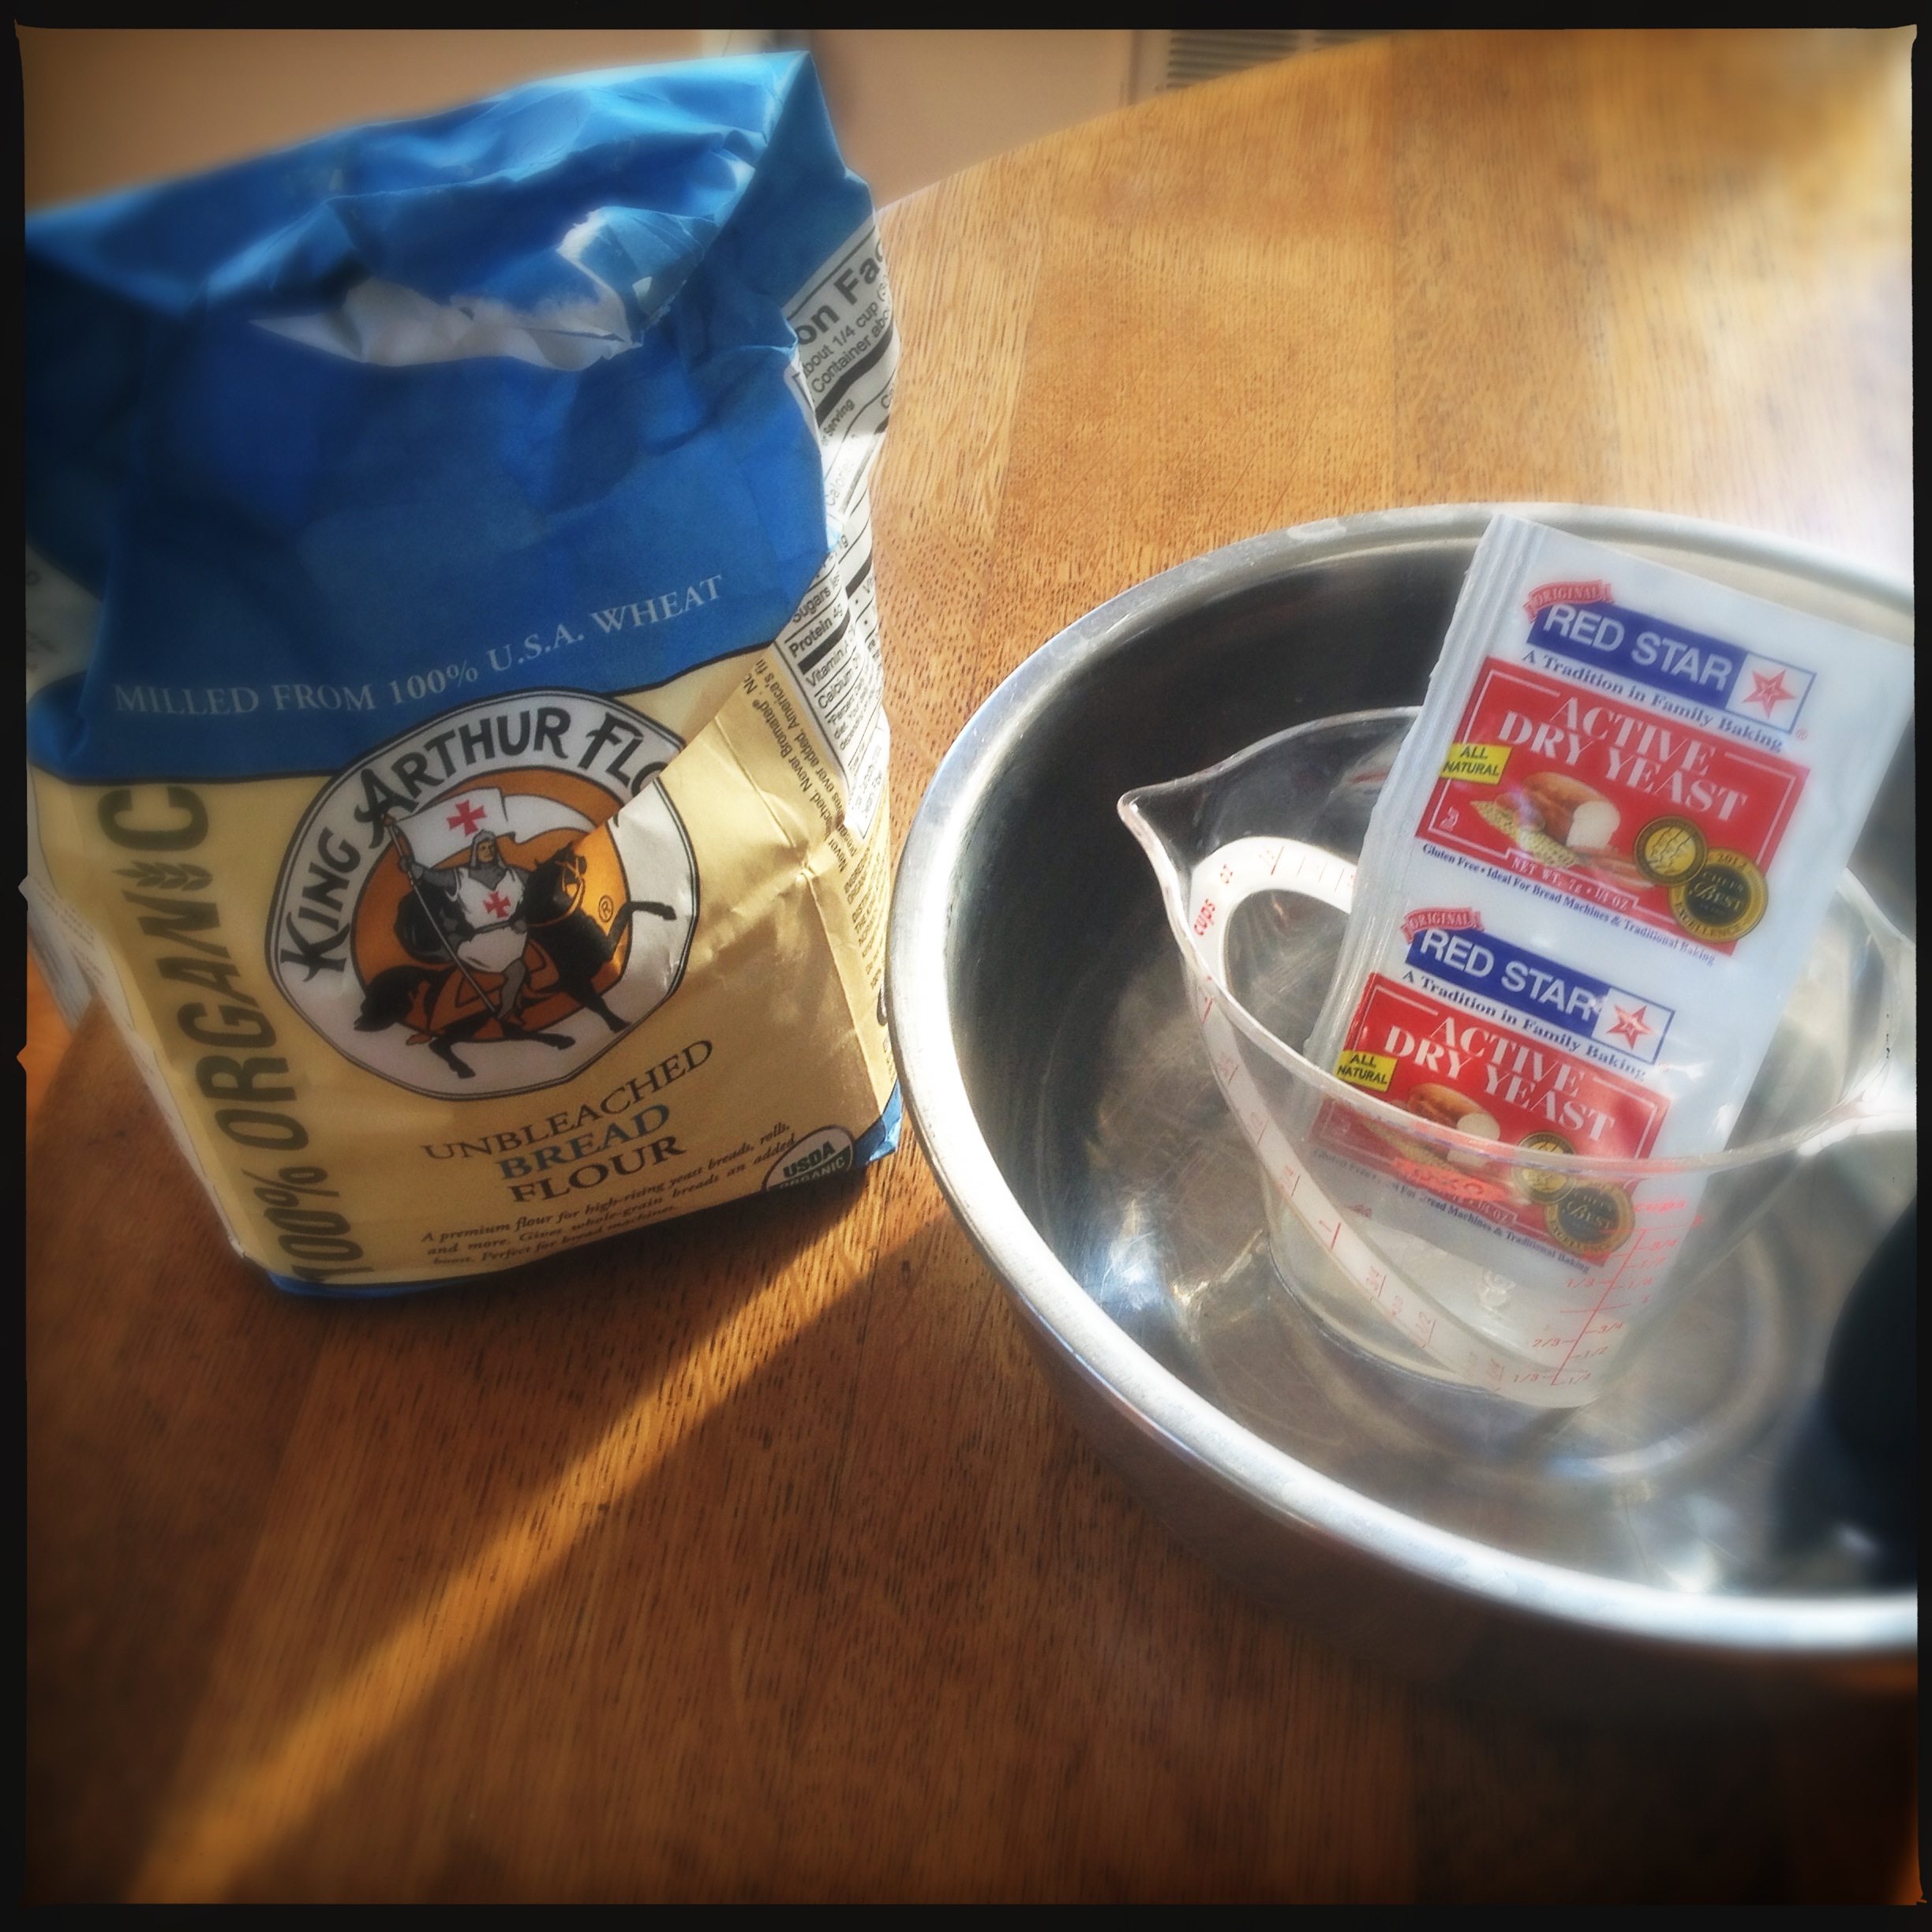
Several months ago, I submitted a recipe for a simple pasta dough to an editor at The MV Times (and one of the editors of this formidable magazine). Without thinking, I submitted the recipe using grams as the unit of measure. As a chef, this is standard practice, and I am regularly interpreting and creating recipes this way. And bakers will tell you there is no other way. Little did I know this reliance on grams would spark an ongoing conversation about why exactly they are used in recipes. 

There are several answers to this question. The first being, you can’t confuse grams. The gram is a unit of measure for weight, and weight only. Ounces can be a unit of volume or a unit of weight, and there is the problem: Dense liquids such as heavy cream don’t have the same volume as water. If you’re eyeballing these two liquids by volume, you’ll end up with a lot more cream than you need. The volume-to-weight difference might be minor on a small scale of one ounce by volume. However, when you multiply that exponentially in a recipe that calls for measurements by weight, it can completely change a recipe. 

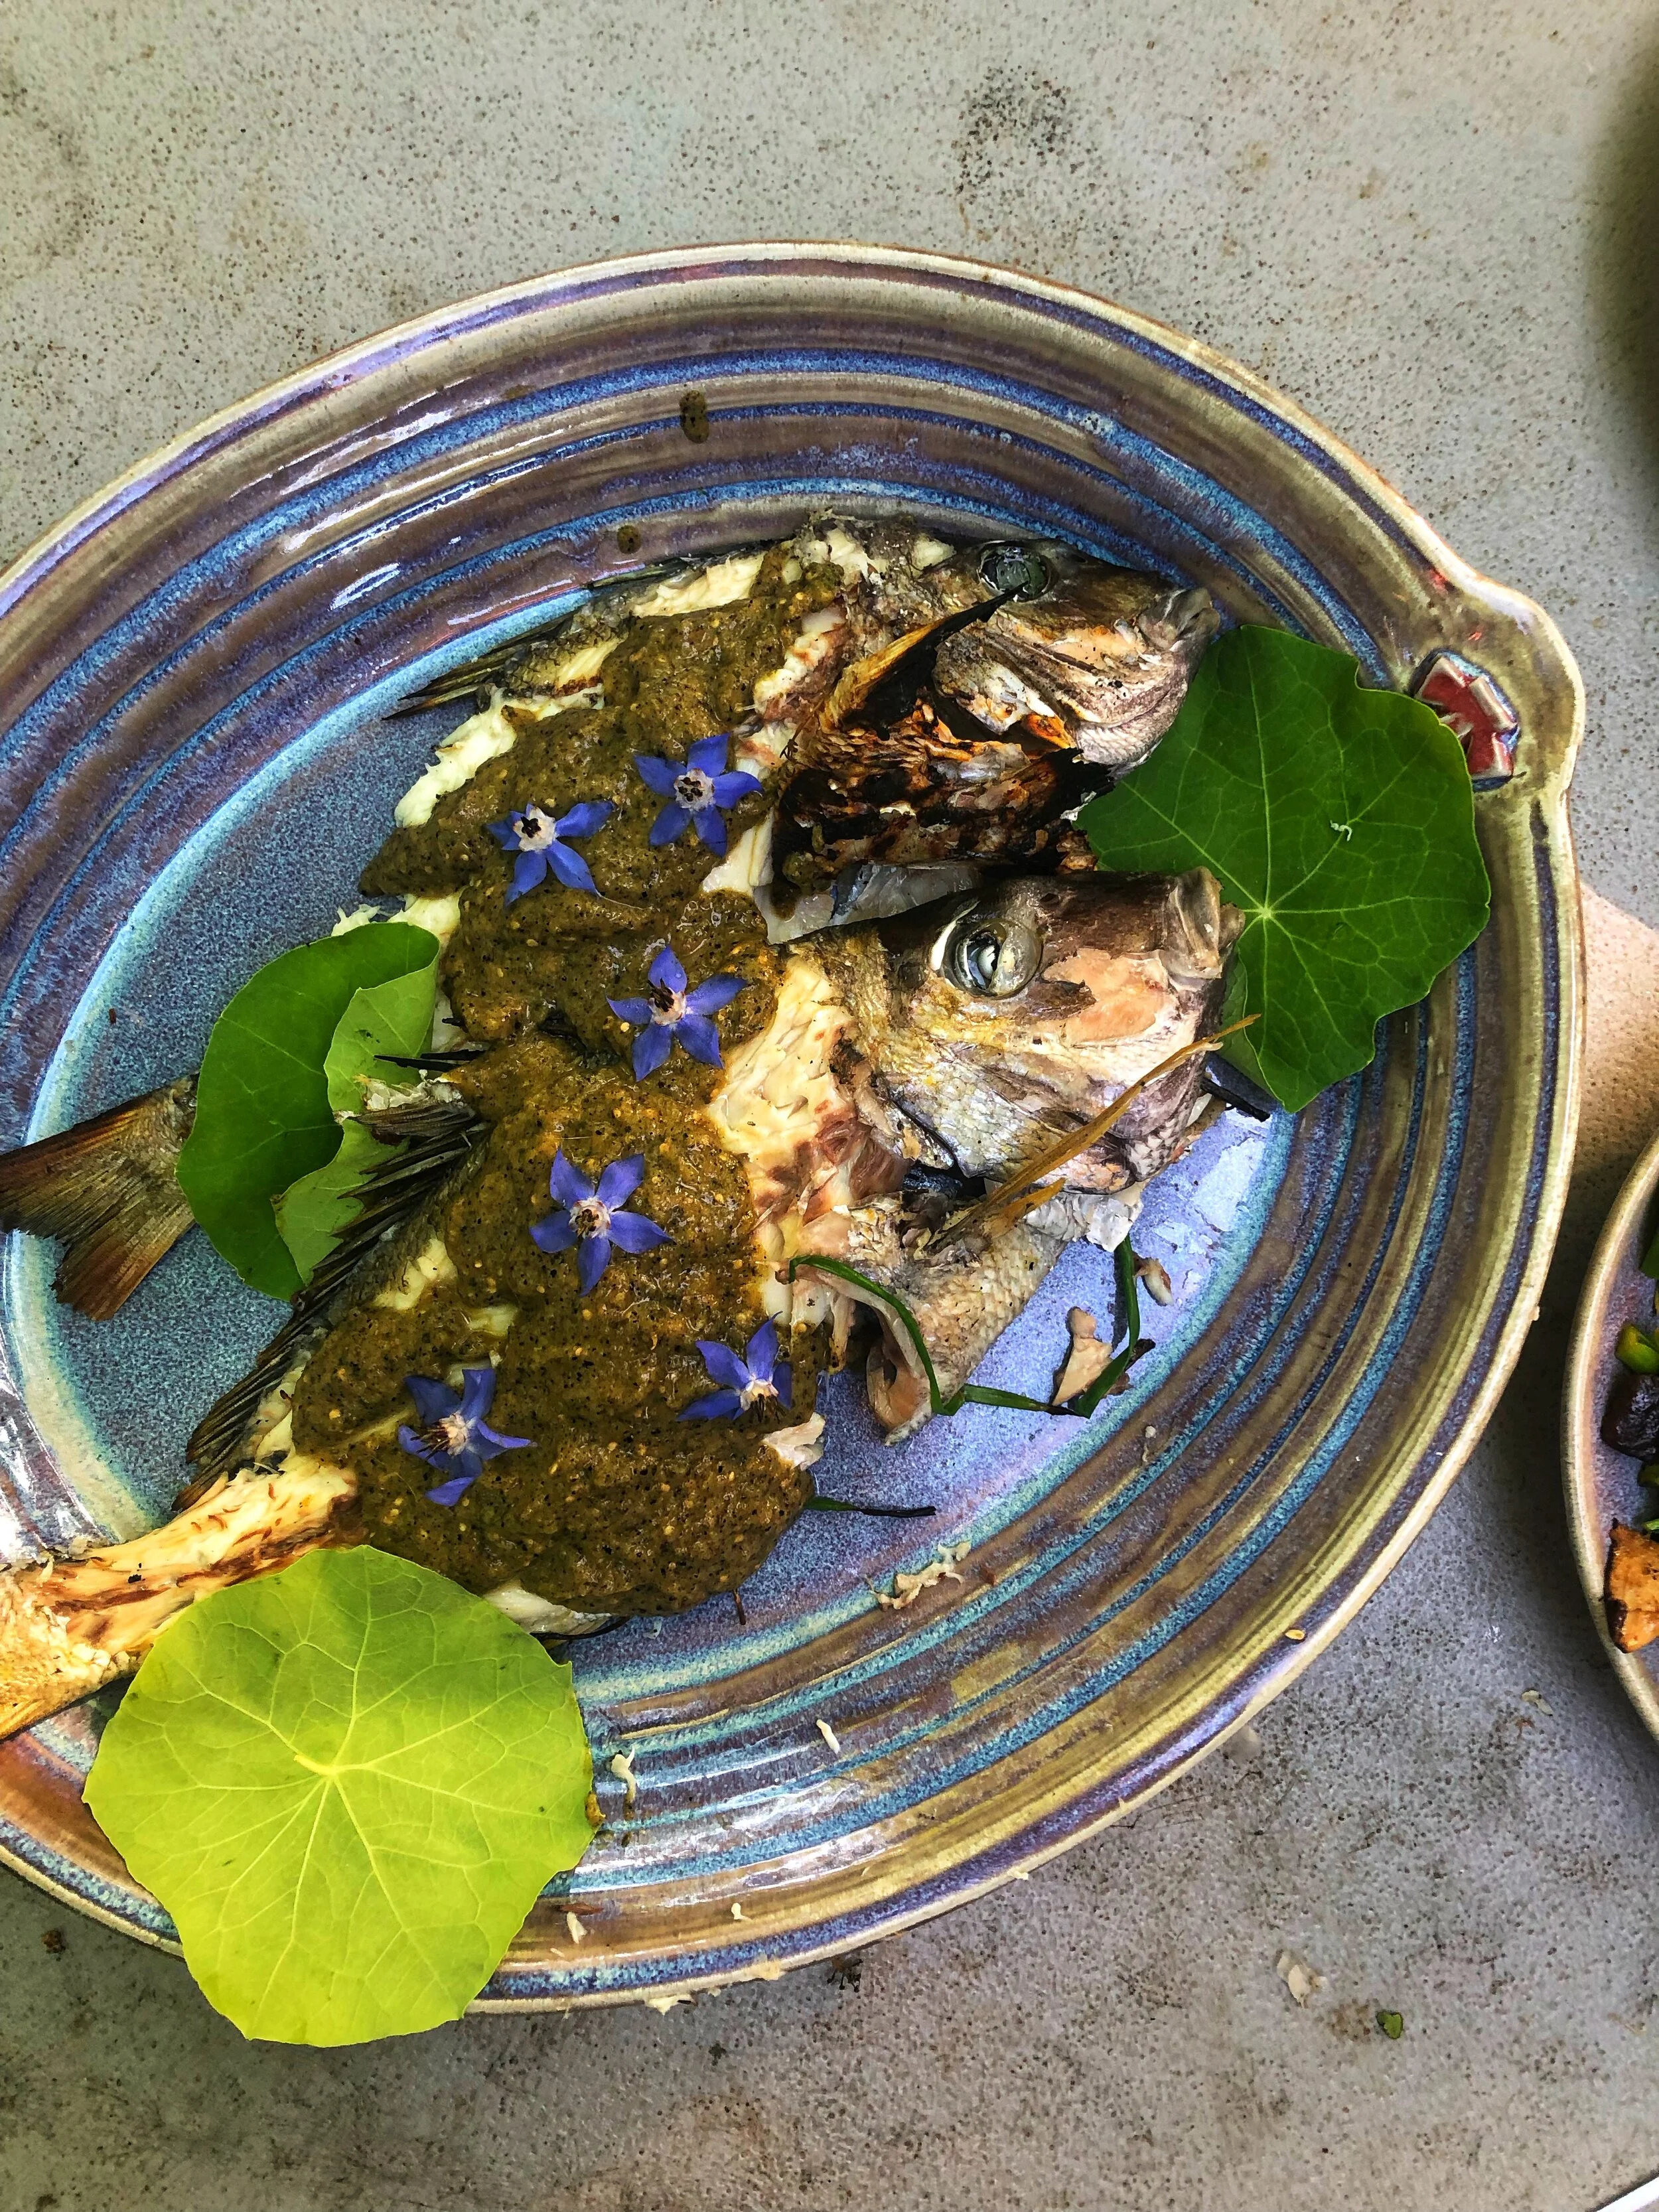
Secondly, grams are very small, which means you rarely need to deal with fractions. Though I occasionally measure things like yeast to the tenth of a gram, a gram is small enough that you rarely have to break it down further. With grams, I never have to do anything like dividing ⅓ of a cup by seven. When cooking fresh vegetables or fish for a family meal, I am not weighing anything. I cook by feel, instinct, and muscle memory. Flavor, and texture can be adjusted by adding ingredients as you cook. But when baking, making dough for pasta, or even a complex mousse or sauce, I’m sticking to grams. I measure everything as accurately as possible, because you cannot change the flavor or texture of most things once they are baked. When I cook for large groups I often multiply a recipe several times. Using grams when I multiply by two or even ten times, my recipe will be just as good as a single recipe and consistent across the board. 

Measuring everything by weight is also extremely helpful when understanding proportions. Not everyone knows off the top of their head that there are three teaspoons in a tablespoon, or 16 tablespoons in a cup. The difference between 5 grams and 500 grams is a lot easier to understand, break down, and multiply. 

Then there’s the fact that not all measuring cups are actually the same size. Different brands of measuring cups are slightly different in size and shape. When the average cook eyeballs a measurement, it can easily be off by a significant percentage. In order to illustrate this point, I asked two friends to measure out a cup of flour using the exact same measuring cup. I weighed them using a digital scale set to measure grams. Though both appeared to be full and level, the two measurements were different by nearly 30 grams. If you were making a large batch of biscuits and had to multiply a recipe by ten times, you could have ended up with an extra 300 grams of flour in our recipe. Additionally, grams are an internationally used and understood unit of measure. It’s mostly just in the U.S. that cooks are still weighing things in pounds and ounces. When you’re able to use grams, it allows you to open up your tastebuds to recipes from around the world, and share your own recipes with cooks outside the U.S. (and vice versa).

Don’t be intimidated by a recipe that uses grams. If you don’t already own one, get yourself a digital kitchen scale. They can be found in any cooking store, and even some grocery stores. Simply flip it on, and hit the unit button until it reads grams. Each time you weigh something, place the empty container or measuring cup on top of the scale and hit “tare.” This will zero out the weight of your container, allowing for easy measuring. Simply put your ingredients in the preweighed container, and voilà, grams are your new best kitchen friend. 

Gavin Smith is a fishing columnist for The MV Times, a frequent contributor to The Times and this magazine, and a private chef. 

Share

Share

On Glutenous Yeast Dough

 
Za'atar bagel.jpg
 

It started with this photo, a bagel, and a tasty one at that. I posted the photo, and before I knew It, I was getting message upon messag asking questions about basic dough. Now a number of these questions were in regards to bagels specifically, but the same general principles apply to most doughs. Many people are home trying new baking projects during this time, and I felt it was appropriate to share some basic dough knowledge.

You do not need a mixer for basic doughs. When you mix dough, form a well in the center of your flour (and other dry ingredients) in a large bowl. Add your wet ingredients, and bring the flour into the well from the outside in. Pinch with your thumb and forefinger like a lobster to bring dough together for no knead recipes, autolyse, poolish, and biga. For doughs that you are kneading, you can use your whole hand to smash the ingredients together.

Most dough can easily be fixed by adding either flour or water. Err on the side of caution when adding these ingredients as a fix. If it is too wet, add flour, if it is to firm add water. Most doughs should be moist but not sticky. Use warm water, as cold water will make your dough extra sticky. When you first take the freshly formed dough out of your mixing bowl and transfer it to your working surface it may be sticky. lightly flour your working surface, and slowly add small amounts of flour at a time while kneading. Remember that some of the flour in the dough is not fully hydrated, so add flour sparingly. When the dough is no longer sticky you can stop adding flour and work the dough with your hands.

Knead for a long time, if you are new to baking it is probably longer than you think. The process of kneading builds gluten structure in the flour. This structure will hold the gas bubbles created by the yeast and sugars in the baking process. if your dough doesn’t have good structure, it will rise in the oven when the gases release, then fall flat, and yield dense results. If a recipe says “knead for 10 minutes,” they mean 10 full minutes of continuous movement. Don’t be afraid to use your body weight to move the dough. Push the dough down and away from you, turn it a quarter turn onto its point, and repeat. Pushing away from you with solid downward pressure. As the gluten structure forms, you can lighten up on the pressure, but don’t stop kneading until you have reached the desired result. In most cases you are looking for a smooth and very consistent dough. In the kitchen chefs and bakers often shit their leg positions to tolerate standing in one spot for a long time without body pain. I recommend the sumo stance.

Pay attention to proofing. Proofing is the period of time when you let the dough rest. The yeast ferments the flour in the dough producing gas, and increasing the size of the dough. When you proof dough the finger dent test is a useful tool. Pick a finger, any finger. Now lightly flour said finger and press it about 1/4 inch into the proofing dough. If the dimple bounces back quickly and completely, the dough is not yet proofed. If it bounces back just a little, and gently, it is proofed. If the dimple does not bounce back at all your dough is over proofed. If you proof a dough more than once, the finger dent test is still applicable on both proofs.

Now this principle dose not apply to starters like autolyse, poolish, and biga. Your starters should be sticky, you don’t need to work starters much at all, just bring them together then apply the proofing rules after mixing the final dough.

Be Kind to dough, it’s a living breathing thing. When you are proofing the dough, cover it, as it can form a hard film on the outside that will result hard clumps in your final product. Keep it in a nice warm place while its proofing, dough rises best in a warm place.

If you don’t like the result of your baking, think about how wet or dry your dough was. Examine your proofing process, and make sure you knead until the dough is smooth. Sometimes it takes experimentation to get your desired result. Listen to though dough, and remember that elevation, humidity, barometric pressure, and other factors will affect your dough. Sometimes you will need more water, or flour than a recipe calls for, don’t be afraid to tweak your recipe the next time you bake. Follow the 10% rule when changing your formula, change one ingredient at a time, no more than 10% at a time. This will allow you to keep track of the difference each ingredient makes. If you change the ratio of four or five ingredients by different percentages at the same time, it is almost impossible to track your progress.

Have fun with it, and don’t be afraid to get your hands sticky.

Share

Share

Whole Scup- Delicious and Underutilized

 
whole scup.jpg
 

Scup are an abundant and easily caught resource on Martha’s Vineyard. Many people avoid them, as they are certainly not a sport fish, and they are full of bones. But the meat is absolutely delectable, and well worth eating! The following is a recipe I submitted to the Martha’s Vineyard Times.

This week I didn’t get out fishing much. With only one day to wet a line, and the ambition to cook my catch, my friend and I set our sights on bluefish. We did quite a bit of moving around, but never got into the blues. We did however manage to catch a couple of beautiful scup. 

Cooking fish whole is a lot less work than fileting, especially when working with smaller boney fish like scup. Scup collar and cheeks are delicious, but are very small and are a lot of work to cook separately for a little payoff. Cooking the scup whole allows for you to enjoy these treats without taking the time to cook them separately. Scup is an abundant resource on the Island, and in my opinion is vastly underrated. They are sweet, and light with a very mild flavor.

Grilled Whole Scup with Tomatillo Sauce

Fish Ingredients:

1 whole scup (guts removed)

2 tsp Olive Oil

½ tsp Salt

2 inch piece of ginger sliced thin

1 lemon sliced into thin rounds

1 bunch Chives 

Neutral oil (for brushing grill grate)

Tomatillo Sauce:

8-10 tomatillos 

1 large red onion sliced into thin rounds 

1 bunch cilantro

2 Tbsp Olive Oil (plus a little to brush onions)

2 tsp sherry Vinegar

2 tsp honey


For the Tomatillo Sauce:

-Heat your grill to a medium high setting

-Brush onions with olive oil and a pinch of salt

-Place onions and tomatillos directly on the gril

-Cook tomatillos until the color darkens, and the juice inside begins to bubble

-Cook onions until they are visibly charred and begin to soften

-Combine all of your ingredients in a large blender (I prefer a Vitamix or other high powered blender) 

-Blend until smooth, taste for sweetness and salt (if you would like a little more sweetness add honey)

For the Scup:

-Turn your grill down slightly to a medium heat 

-Stuff the body cavity with ginger chives and lemon

-Coat the outside of the fish thoroughly with olive oil and salt

-Brush the grill grate with neutral oil (This helps keep the skin from sticking)

-Place the whole fish onto well oiled grill surface 

-Cook for 5-10 minutes per side depending on the size of your scup

-Use a thin fish spatula to turn the fish ( a thick spatula will damage the skin, and flesh)

-Place your whole fish on a plate or platter, and cover with tomatillo sauce.

-Enjoy!

Scup have quite a few bones, and are often thought of as “too much work,” but I assure you it’s worth the effort to eat around the bones. I have adopted the technique of pulling the flesh away from the fish in the direction of the bones making them easier to spot. 

Recipe originally appeared in the Martha’s Vineyard Times

Share

Share

Ginger Brussels Sprouts

Ginger Brussels.jpg

Growing up, my family had several recipes that appeared at every holiday feast, none of which I will be sharing with you. Not because they are particularly good, or something I keep close to the vest. But because they are all dishes that are outdated in style and frankly unhealthy.  I have distinct memories of visiting my great aunt’s house in central Kansas. Even in the early nineties they would still serve things called “Jello salad” that contained cream cheese, canned fruit, canned beans and mushrooms, really anything out of a can. Pour these concoctions into a pound cake mold with some flavored gelatin, and like magic you have dishes like the infamous  “Under the Sea Pear Salad.” Nothing seemed off limits in these gelatin creations, canned olives, even canned fish. There were casseroles mounding with frozen vegetables, velveeta and butter toasted ritz crackers. The ironic thing is we were deep in the heart of farm country but fresh vegetables were never on the table. All of the farming in that area was commodity grains, soy, and sunflower by the time I was a kid. 

These days we spend Thanksgiving with my wife’s family in central Massachusetts, or “metro west” if you are my wife. Several years ago, I was asked to prepare some brussels sprouts for Thanksgiving dinner. Every Thanksgiving since, I have been asked to  cook brussels sprouts. Christmas came, and I was asked to cook more brussels sprouts. Now I cook brussels sprouts for every family holiday. In an effort to keep things interesting I often prepare them in different ways. If you would like to try something a little different at your holiday feast this year, this recipe went over wel,l and I have been asked to share it several times.


Ginger Brussels Sprouts

Ingredients:

-1 lb. Brussels Sprouts (ends trimmed, cut in half lengthwise)

-3 inch piece of fresh ginger (peeled and diced small)

-3 Tbsp Coconut Amino (or sub w/ low sodium tamari)

-1-2 Tbsp Honey

-2 tsp Rice Vinegar 

-3Tbsp Extra Virgin olive oil

-Salt

(optional toppings- Lime zest, sesame seeds, cilantro, lime juice) 

Method:

-Preheat oven to 375 degrees F

-Coat a large heavy skillet with olive oil over medium heat

-Once oil is hot place brussels sprouts cut side down in the pan

-Sprinkle with salt 

-Allow brussels to brown before stirring (if you have a small heating element you may need to move the brussels around the pan to make sure they all brown evenly)

-Add fresh ginger then stir pan 

-Cook until aromatic (30-60seconds)

-Add rice vinegar, coconut amino and honey

-Stir pan to coat all of the brussels sprouts evenly

-Move skillet to the oven for 3-5 minutes (Brussels should be tender but firm)

-Serve with desired toppings

text originally appeared in the Martha’s Vineyard Times

Share

Share

Pizza Dough

photo 2.JPG

Great dough is the essential building block for one of my personal favorites... Pizza.  After spending years living, and working in restaurants in New York City I can tell you that not all pizza is created equal. In New York the opportunities to try a new pie, or slice where seemingly endless. We all have our favorites, but I personally like a thin crust with simple fresh flavor.  This is the kind of dough that when treated right is the perfect vessel for fresh ingredients.  I have put everything on pizza from fresh tomatoes and mozzarella to Jambalaya. Start here and build yourself a platform that will truly impress your guests.

Ingredients:

Yield = 3-4 small thin crust pizzas

     -3 1/2 Cups flour (you can use all purpose, I prefer bread flour)

     -1 package of dry active yeast

     -1 teaspoon of sugar

     -2 teaspoons salt

     -2 tablespoons olive oil

     -1 1/2 cup warm water (not hot! you can kill your yeast)

Directions:

     -In a small mixing bowl combine warm water, yeast and sugar

     -Let rest for about five minutes to let the yeast activate

     -Once the yeast water and flour are a consistent color and the grains of yeast have dissolved, combine all of your ingredients in a large mixing bowl

     -Use your hands to start combining the ingredients (its going to get sticky, but you will survive)

                -Keep some extra flour on hand to prevent your hands from getting too sticky

     - Once the mixture starts to come together as a ball, coat a large hard surface like your counter or tabletop.

     - Knead the dough for about ten minutes

                  -Kneading the dough creates the gluten in your dough, hand kneading is not only therapeutic, it is good exercise and you will have a real feel for the consistency of your product

                  -Again keep plenty of extra flour around, or your dough will stick to everything

     -Once your dough is consistent, stretchy, and one homogeneous ball, put some olive oil in a clean mixing bowl, and roll your ball of dough so all sides are covered. (if you don't cover your dough in olive oil the dough will form a hard crust)

     -Cover your mixing bowl with a towel, or plastic wrap and let rest until the size of the ball is doubled (about 1 hour and 1/2)

Tips:

      -I like to portion my dough into four smaller balls and let them sit over night...

       -You can keep your extra dough in the fridge for a few days and make more pizzas. I personally don't freeze it, but it will hold in the freezer.

       - If you are storing your dough in the fridge make sure that the outside is lightly coated in olive oil, and it is sealed properly. Without those precautions you will get a hard crust that is difficult to work with.


     -Once you have your handmade dough.... MAKE PIZZA!


Share

Share

Beginning of the End

Here it is... the Beginning of the end for my old, and admittedly outdated Blog....


This blog will be your exclusive look into my kitchen.  Practical knowledge, recipes, food handling, preparation, and experiments hopefully gone right.  My passion for cooking has driven me to constantly peruse the best methods, flavors, textures and practical skills in the kitchen.  Stay tuned, and join me on my culinary adventures!  


Feel free to contact me foodmindedfellow@gmail.com with any questions, or the recipe for the thing I made that one time that you can't stop thinking about.

Share